Blending Reality
Teaching 3D modelling and Augmented Reality with Blender and Aero


TEAM MEMBERS: Kelechi Ariwodo , Thien Nghi Duong , Carina George
ADVISORS: Dr. Cindy Robertson , Dr. Anca Doloc-Mihu
TECH: blender , adobe-aero
DIFFICULTY: intermediate
TARGET AUDIENCE: k-12 , college , middle-school
DURATION: 60 - 90 minutes
CURATOR(S): Kelechi Ariwodo , Trung Dao ,
PUBLISHED DATE: May 06 2024
CREATED IN SEMESTER: Spring 2024
Read more on
The primary goal of this project is educating others about Augmented Reality (AR) using Adobe Aero and 3D Modeling using Blender.
This project showcases how to build a 3D snowmen in Blender, and then how to import it in Adobe Aero environment. The project is geared towards educating and creating interest in the IT field for non STEM majors. By engaging in our workshop, students will get to experiment with Blender, 3D modeling and AR, which allows them to learn about how to play with AR technology.
The Technology Ambassador Program at GGC strives to break the misconceptions of the IT field by providing fun workshops for students of all backgrounds. TAP students design engaging and fun outreach workshops to encourage interest in IT and STEM.
Team members

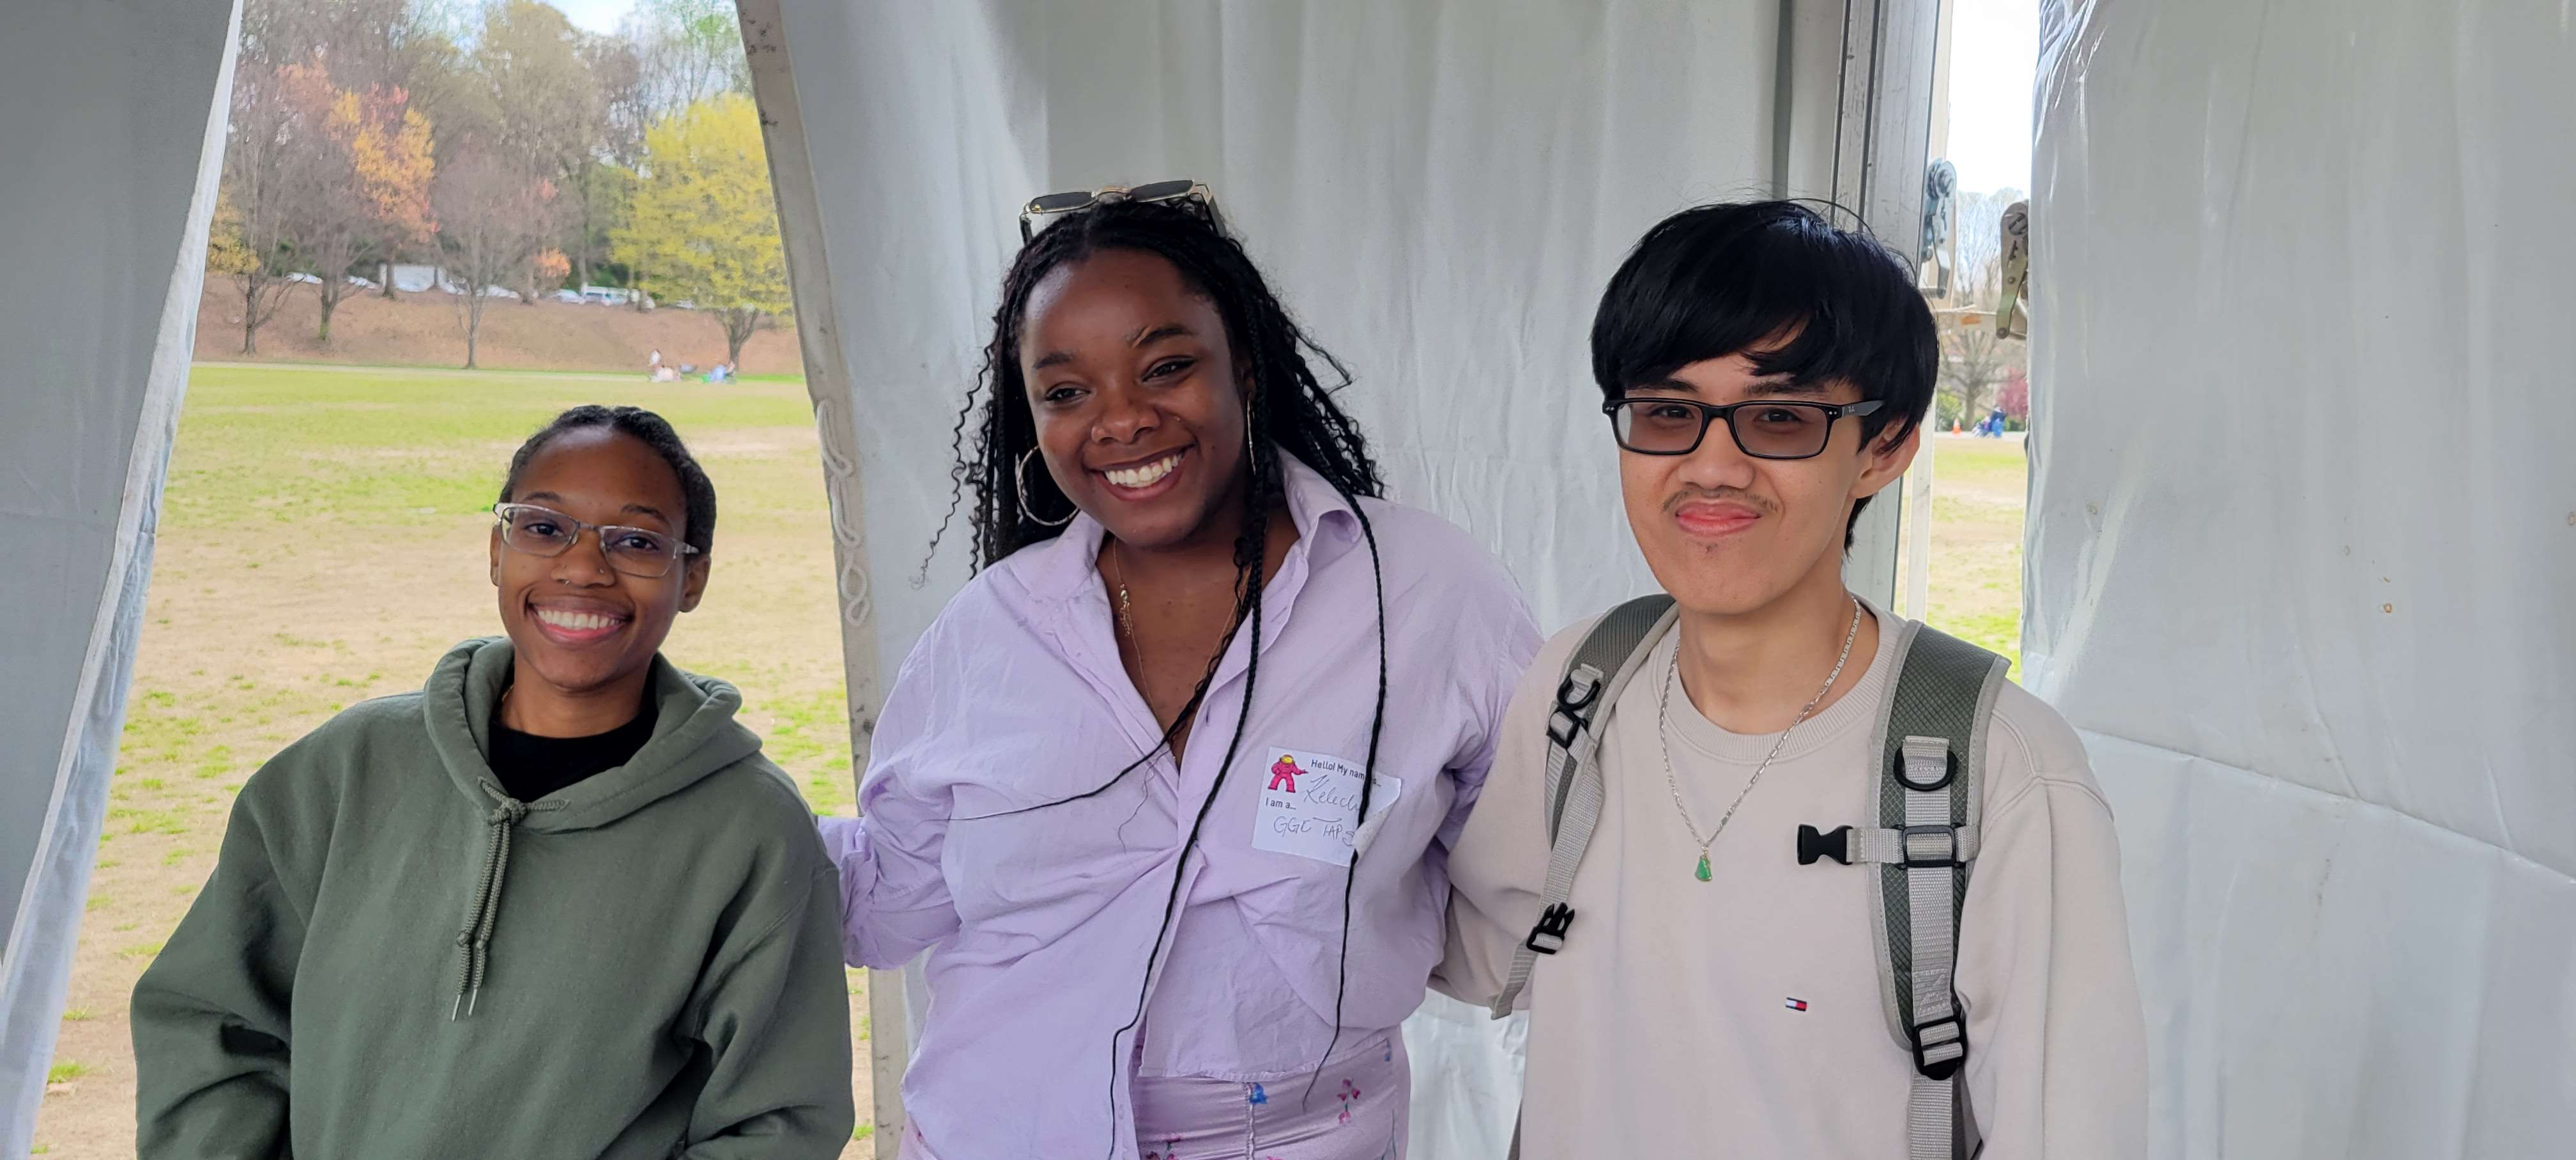
From left to right: Carina George, Kelechi Ariwodo and Thien Nghi Duong
Outreach Activities:
- Tap Expo, 2024, Georgia Gwinnett College
- Atlanta Science Festivals,2024, Piedmont Park
- Class Workshops – 2024, Georgia Gwinnett College
Technology

Adobe Aero (Desktop)
Steps:
STEP 1: BLENDER & AERO
- Download Blender and Aero
- Open the blender app, click General to begin modelling
- Click the cube already present on the canvas and press the delete/backspace key
STEP 2: ADD MESH - ICO SPHERE
- Press Shift + A to open the Add menu.
- Select Mesh > Icosphere. This will add a regular-sized icosphere to your scene.
STEP 3: DUPLICATE ICO SPHERE (2x)
- Select the icosphere you just added by left-clicking on it.
- Press Shift + D to duplicate it.
- Press S to scale it smaller.
- Press G then Z to move it along the Z-axis.
- Scroll your mouse up to move it higher above the first icosphere.
STEP 4: EYES OF THE BEHOLDER
- Add another icosphere by pressing Shift + A and selecting Mesh > Icosphere.
- Scale this icosphere as small as you’d like the snowman’s eyes to be:
- Press S to scale, then press Y to scale along the Y-axis to make the eyes look like ovals.
- Press X to scale along the X-axis to flatten the ovals.
- Shift D to duplicate it.
- Press G, then X to move the duplicate eye beside the first.
STEP 5: BUTTONS BUTTONS BUTTONS
- Add another icosphere by pressing Shift + A and selecting Mesh > Icosphere.
- Scale this icosphere as small as you’d like the snowman’s buttons to be:
- Press S to scale and drag to desired size
- Press X to scale along the X-axis to flatten the ovals.
- Press G, then Z to place along the z -axis.
- Shift D to duplicate it.
- Repeat steps until you’re satisfied with the number of buttons
STEP 6: A CONE FOR A NOSE
- Add a cone by pressing Shift + A and selecting Mesh > Cone.
- Rotate the cone on the Y-axis by pressing R then Y and typing 90.
- Place the cone on the snowman’s face as the nose.
CONGRATULATIONS!
YOU BUILT A SNOWMAN!
Materials List:
| Amount | Materials | Dimension |
|---|---|---|
| 24 | Desktops (with Aero desktop & blender downloaded) | n/a |
| 24 | Mobile Devices - cellphones or Tablets (with Aero mobile downloaded) | n/a |
Project Setup & Installation:
Technologies Used

Adobe Aero
1 related projects
Adobe Aero is an AR authoring tool that lets students place, animate, and interact with digital objects in real-world spaces—no coding required.

Blender
1 related projects
Blender is a free 3D modeling and animation tool students use to design characters, environments, and assets for interactive media projects.